Android SDK 개발 가이드
이 가이드는 아래 내용들을 안내합니다.
▶︎ Shoplive Short-form Android SDK 설치 요약
build.gradle에 아래 코드를 추가하세요.
build.gradle에 아래 코드를 추가하세요.project/build.gradle에 아래 코드를 추가하세요.
allprojects {
    repositories
        ...
        maven { url 'https://shoplivesdk.jfrog.io/artifactory/shoplive-sdk/' }
        ...
    }
}app/build.gradle에 통합된 라이브러리나 분할된 라이브러리를 추가하세요.
- 통합된 라이브러리
dependencies {
    def shoplive_sdk_version = "1.5.1"

    // Shoplive combined packaging
    implementation "cloud.shoplive:shoplive-sdk-all:$shoplive_sdk_version" // live + short-form
}- 분할된 라이브러리
dependencies {
    def shoplive_sdk_version = "1.5.1"
    def your_exoplayer_version = "2.19.1"
    def your_media3_version = "1.1.1"
    def shoplive_exoplayer_version = your_exoplayer_version + "." + "8"
    def shoplive_media3_version = your_media3_version + "." + "8"

    // Shoplive split packaging
    implementation "cloud.shoplive:shoplive-common:$shoplive_sdk_version" // must required
    implementation "cloud.shoplive:shoplive-exoplayer:$shoplive_exoplayer_version" // must required
    // When using media3. Exoplayer will be deprecated soon.
    // https://developer.android.com/guide/topics/media/media3/getting-started/migration-guide
    // implementation "cloud.shoplive:shoplive-media3:$shoplive_media3_version"
    implementation "cloud.shoplive:shoplive-network:$shoplive_sdk_version" // must required

    implementation "cloud.shoplive:shoplive-short-form:$shoplive_sdk_version" // for short-form player

    implementation "cloud.shoplive:shoplive-sdk-core:$shoplive_sdk_version" // for live player
}
하이브리드 연동하기
[1단계] 웹 Short-form 적용하기
[2단계] 고객사 웹 Activity에 아래 코드를 추가하세요.
고객사 웹 Activity에 아래 코드를 추가하세요.override fun onCreate(savedInstanceState: Bundle?) {
super.onCreate(savedInstanceState)
webView.settings.domStorageEnabled = true // Required
webView.settings.javaScriptEnabled = true // Required
ShopLiveShortform.connectBridgeInterface(this, webView) // Required
ShopLiveShortform.receiveBridgeInterface(this, webView) // Required
webView.webViewClient = object : WebViewClient() {
...
// Required
override fun doUpdateVisitedHistory(view: WebView?, url: String?, isReload: Boolean) {
super.doUpdateVisitedHistory(view, url, isReload)
ShopLiveShortform.updateVisitedHistory(view, url, isReload)
}
...
}
// Optional
ShopLiveShortform.setHandler(object : ShopLiveShortformFullTypeHandler() {
override fun onEvent(command: String, payload: String?) {
// Do something
}
override fun onError(error: ShopLiveCommonError) {
// Do something
}
override fun onShare(activity: Activity, data: ShopLiveShortformData?, url: String?) {
// Do something
}
})
}
네이티브 연동하기
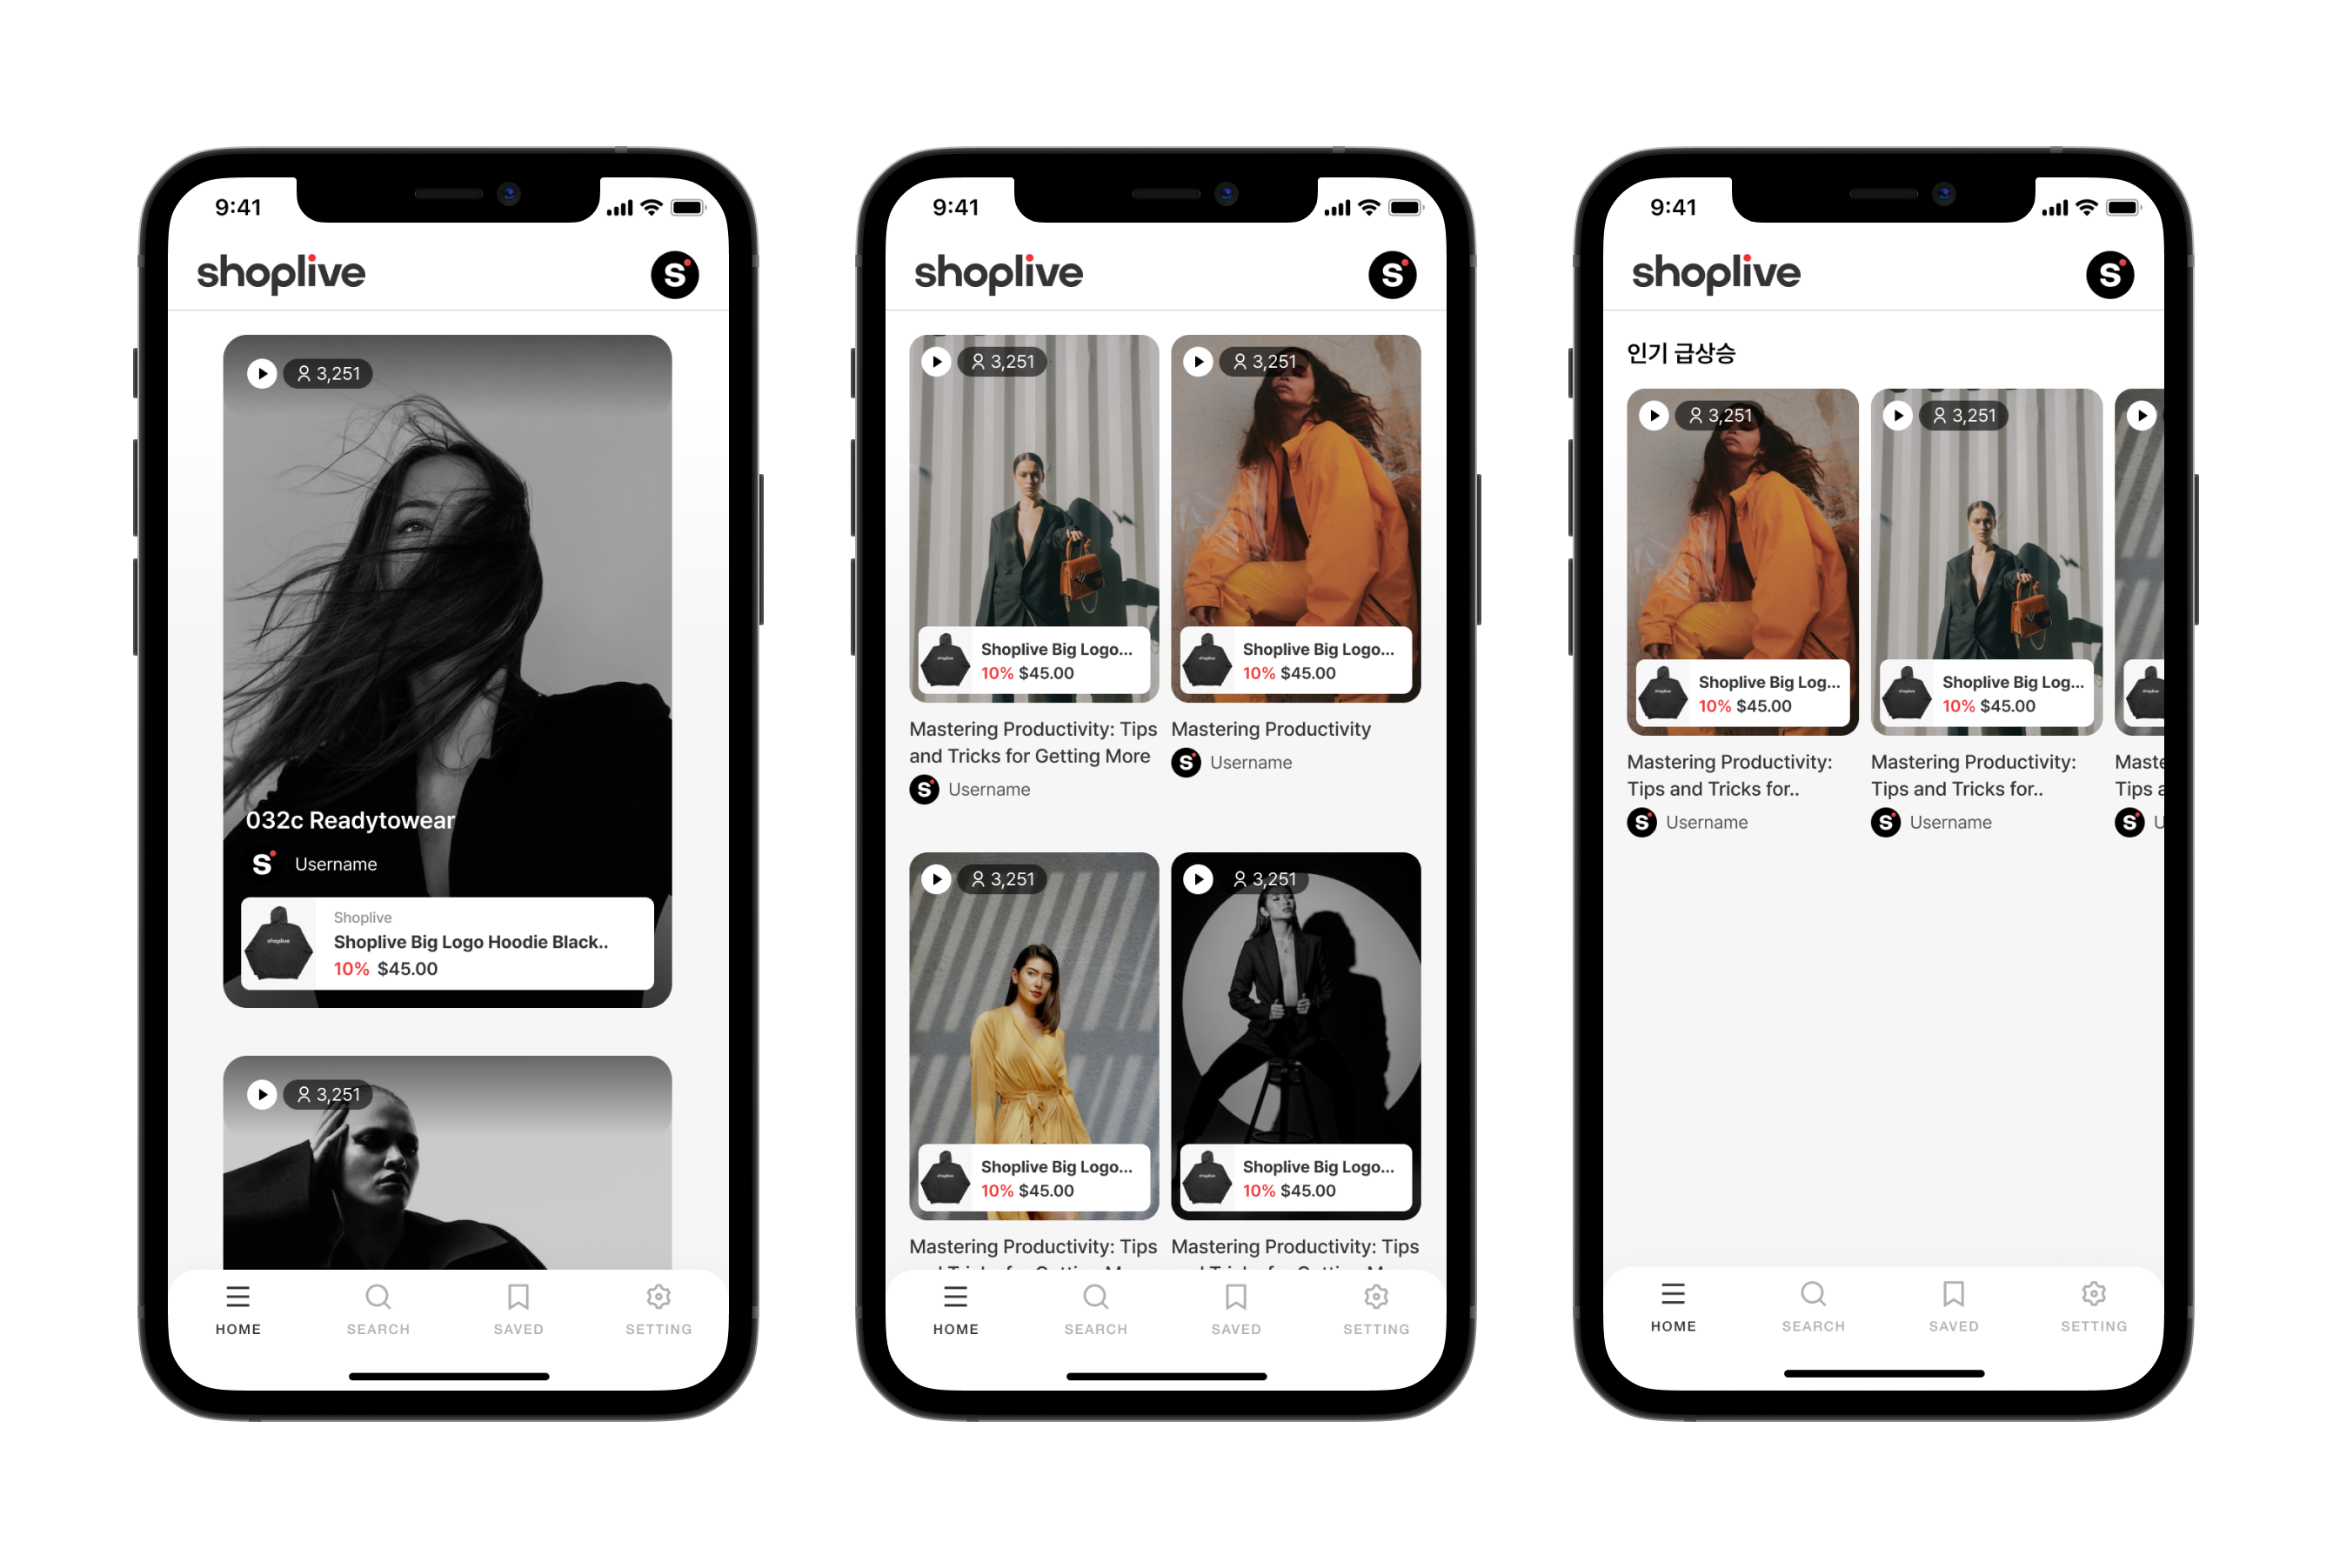
Type 1

좌측 - ShopLiveShortformCardTypeView
중앙 - ShopLiveShortformVerticalTypeView
우측 - ShopLiveShortformHorizontalTypeView
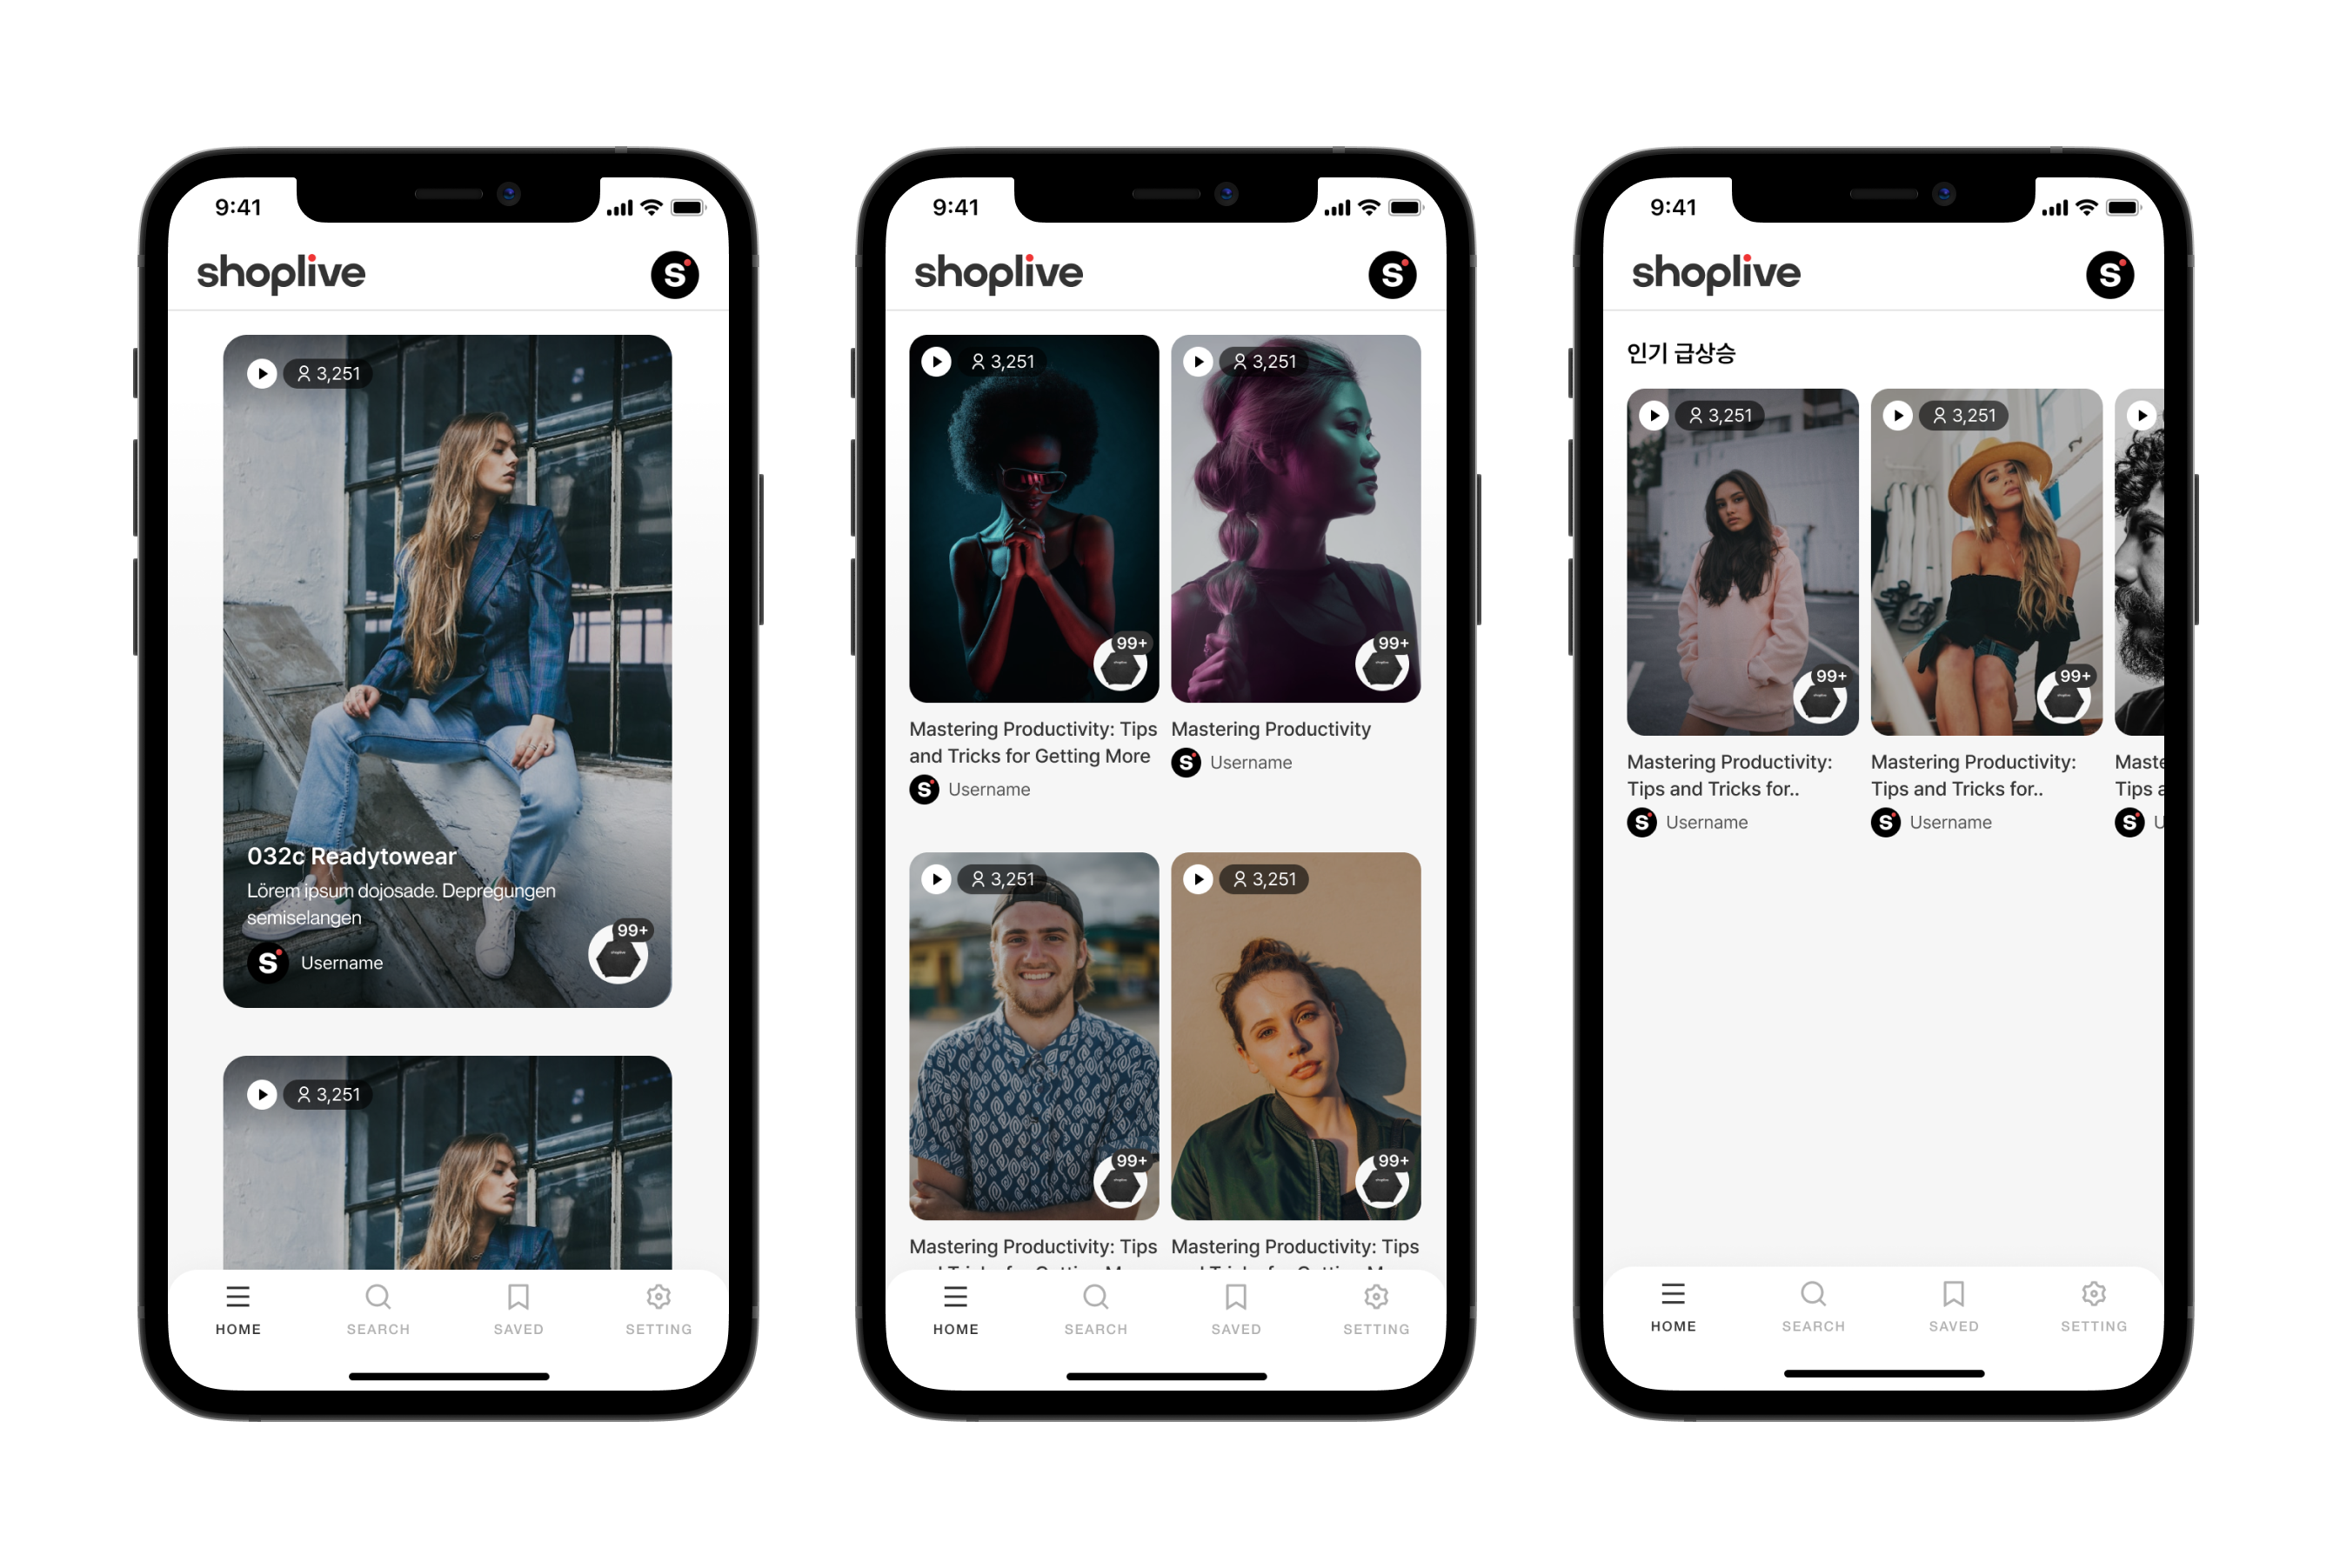
Type 2

좌측 - ShopLiveShortformCardTypeView
중앙 - ShopLiveShortformVerticalTypeView
우측 - ShopLiveShortformHorizontalTypeView
[1단계] 고객사 AccessKey 적용하기
ShopLiveCommon.setAccessKey("your accessKey")[2단계] 네이티브 적용하기
콘텐츠 집중형 (ShopLiveShortformCardTypeView) 적용하기
콘텐츠 집중형 목록을 노출할 화면에 다음과 같이 구성합니다.
고객사 xml에 ShopLiveShortformCardTypeView 추가하세요.
<cloud.shoplive.sdk.shorts.ShopLiveShortformCardTypeView
    android:id="@+id/shopLiveShortformCardTypeView"
    android:layout_width="match_parent"
    android:layout_height="custom height" />
세로 스크롤 (ShopLiveShortformVerticalTypeView) 적용하기
세로 스크롤 목록을 노출할 화면에 다음과 같이 구성합니다.
고객사 xml에 ShopLiveShortformVerticalTypeView 추가하세요.
<cloud.shoplive.sdk.shorts.ShopLiveShortformVerticalTypeView
    android:id="@+id/shopLiveShortformVerticalTypeView"
    android:layout_width="match_parent"
    android:layout_height="custom height" />
가로 스크롤 (ShopLiveShortformHorizontalTypeView) 적용하기
가로 스크롤 목록을 노출할 화면에 다음과 같이 구성합니다.
고객사 xml에 ShopLiveShortformHorizontalTypeView 추가하세요.
<cloud.shoplive.sdk.shorts.ShopLiveShortformHorizontalTypeView
    android:id="@+id/shortsHorizontalType1View"
    android:layout_width="match_parent"
    android:layout_height="custom height" />
속 적용하기
SDK 샘플
아래 링크에서 SDK 샘플을 확인할 수 있습니다.
Updated 26 days ago
